
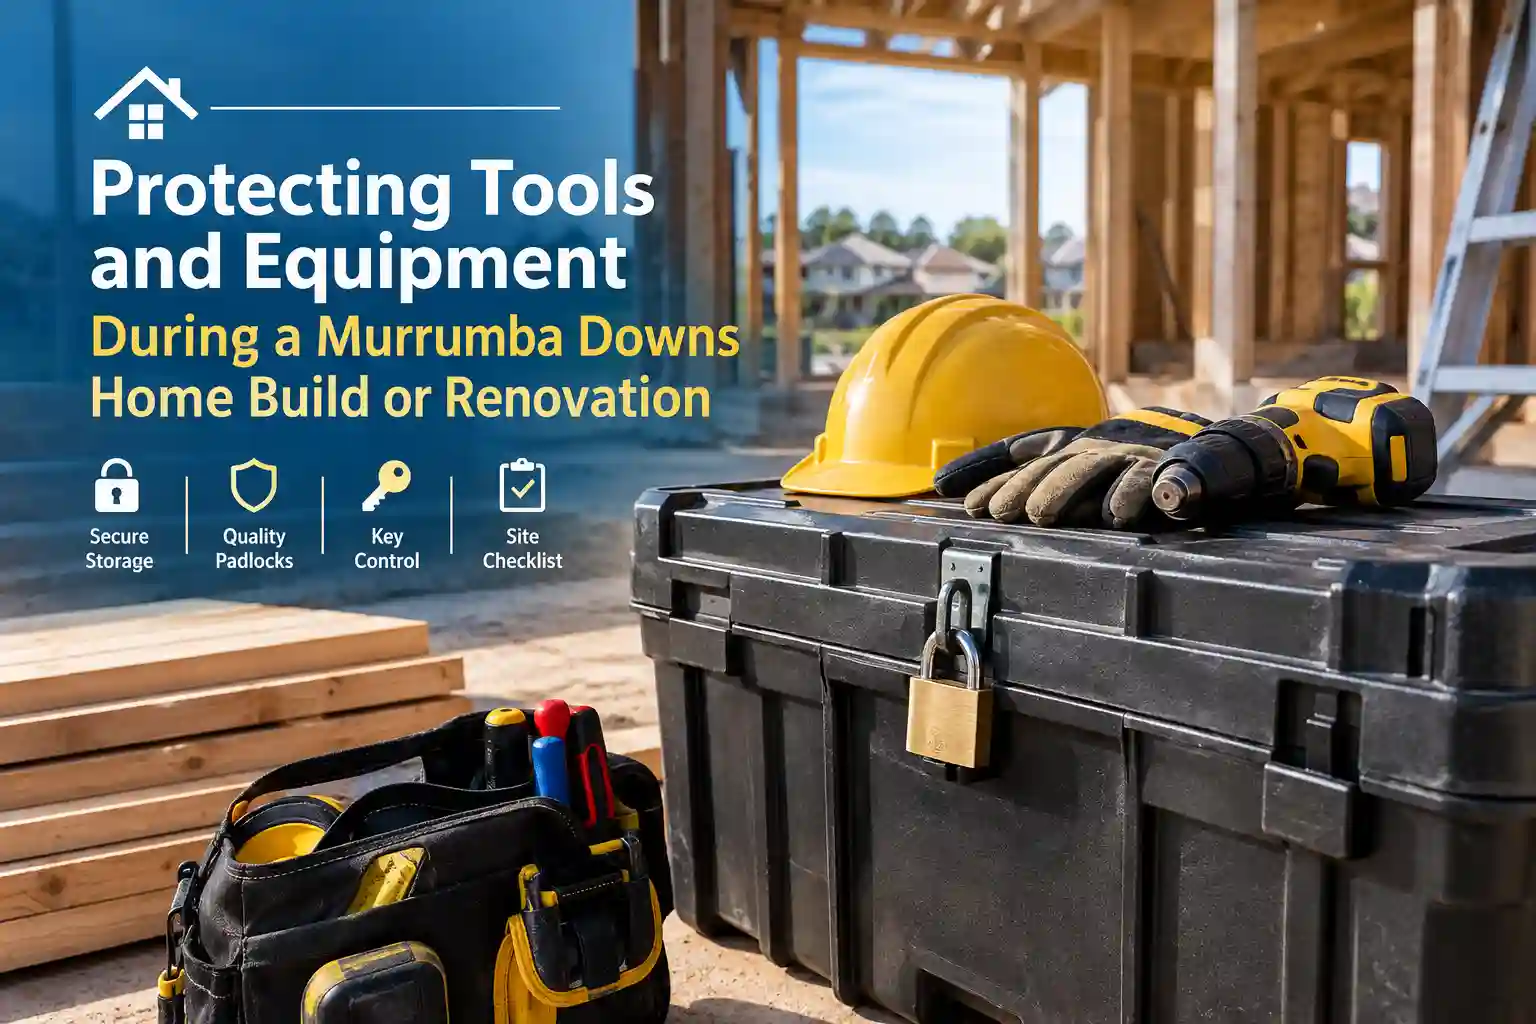
A building site is full of valuable things. Power tools, ladders, generators, fixtures, appliances and building materials all sit around for weeks or months, often in a space that isn’t fully enclosed or lockable yet. Whether you’re building a new home or renovating an existing one in Murrumba Downs, protecting that equipment is a real concern for owner-builders, tradespeople and homeowners alike.
Theft and tampering during a build can cause delays, extra costs and frustration, and it often happens simply because items were left within easy reach. The good news is that a handful of practical, inexpensive steps can make a big difference. This guide explains how to secure tools and materials at each stage of a build or renovation, how to manage keys and access sensibly, and what to do once the work is finished.
Why Building Sites and Renovations Are Vulnerable
Several factors make a worksite an easy target.
- Valuable, portable items. Tools, cables, equipment and materials can be carried or loaded into a vehicle quickly.
- Incomplete security. Doors and windows may not be installed, or may be fitted with temporary locks that aren’t as strong as permanent ones.
- Many people coming and going. Trades, suppliers and inspectors need access, which makes it harder to know who is on site.
- Empty overnight and on weekends. A quiet site gives opportunists time and privacy.
- Weak key control. Keys and lockbox codes are often shared informally and never collected.
None of this means a theft is inevitable. It simply means that planning ahead is worthwhile.
Before Work Begins: Record and Prepare
A little preparation at the start makes everything else easier.
- Make an inventory. List your tools and equipment, with brands, models and serial numbers where available.
- Take clear photos. Photographs of valuable items help with identification and with insurance claims.
- Mark your equipment. Engraving or marking tools with a recognisable code makes them harder to resell and easier to identify if recovered.
- Check your insurance. Find out whether your policy covers tools, materials and equipment on site, and what conditions apply, such as how items must be stored.
- Plan where things will be stored. Decide in advance which items will stay on site, which will be locked away and which will be removed each day.
Secure Storage: Your Most Effective Defence
The single most useful step is keeping valuables in a properly secured place whenever you’re not actively using them.
Lockable Site Boxes and Containers
A heavy-duty, lockable tool box or storage container gives you a secure place for tools and equipment, even on a site with no permanent building. Larger containers can hold materials and bigger items. Choose a unit with a strong body and a lock that is difficult to cut or pry open, and position it where it can’t easily be loaded onto a vehicle.
The Right Padlocks and Chains
Not all padlocks are equal. A cheap padlock may be defeated quickly, while a quality one gives real resistance.
- Look for a hardened shackle. A thicker, hardened shackle is much harder to cut.
- Consider shrouded or closed-shackle designs. These protect the shackle from cutting tools.
- Use a strong chain where needed. Chains used with heavy items, trailers and gates should be hardened and thick enough to resist cutting.
- Position locks carefully. A lock should be positioned so the shackle has as little exposed space as possible.
Secure the Building Itself
As soon as doors and windows are installed, make sure they can be locked properly. Temporary locks are sometimes used during construction, and a locksmith can advise on options that provide better protection while the building is still unfinished. Where possible, keep the most valuable items in the most secure room of the building, away from windows and easy access points.
Daily Habits That Reduce Risk
Good habits cost nothing, and they often do more than any piece of equipment.
- Lock up every day. Never assume you’ll be back in ten minutes.
- Remove high-value items overnight. If something is expensive and portable, take it with you or lock it away.
- Don’t leave keys on site. Hiding a key under a bucket or in a drawer is the first place a thief looks.
- Keep the site tidy. A clean, ordered site makes it easy to notice if something is missing.
- Check at the end of each day. A short walk-through confirms that everything is locked and accounted for.
Lighting and Visibility
Thieves prefer places where they won’t be seen. Good lighting and clear sight lines make a site less appealing.
- Use temporary or sensor-activated lighting around entry points and storage areas.
- Keep stored equipment visible from the street where it’s safe to do so.
- Let neighbours know your schedule, so they can notice anything unusual.
- Consider a camera or alert device if the site is empty for long periods.
Managing Keys and Access
Key control is where many sites quietly go wrong. Over the course of a build or renovation, numerous people may need access, and it’s easy to lose track of who holds what.
- Keep a simple register. Record who has keys, codes or lockbox access, and when they received them.
- Limit the number of keys. The fewer copies in circulation, the lower the risk.
- Use keyed-alike padlocks for your own gear. One key for all your padlocks makes daily life easier, and reduces the chance of leaving a lock behind.
- Collect keys at the end of each stage. When a tradesperson finishes, retrieve their key or change their access.
- Change lockbox and keypad codes regularly. Codes shared informally can spread quickly.
Keypad Locks and Lockboxes for Contractor Access
If you aren’t on site every day, you’ll need a way to let tradespeople in and out. Handing out multiple keys is risky. A keypad lock or a secure lockbox gives you a more flexible alternative.
- You can create different codes for different people, and remove them when work is complete.
- You don’t need to be present to give access.
- There’s no key to be copied, lost or forgotten.
Choose quality hardware, and don’t rely on simple codes such as repeated digits or sequences.
Special Considerations When Renovating an Occupied Home
Renovating while you’re living in the property brings its own security challenges. Workers may need access to some areas, while others must stay private.
- Lock off areas that aren’t part of the work. Bedrooms, offices and rooms containing personal items should be closed and locked where possible.
- Secure valuables and important documents. Move them to a safe, a lockable cabinet or off the premises.
- Be aware of open doors and windows. Work often leaves entry points open for ventilation or access, so close and lock them when the work stops.
- Consider temporary locks. A locksmith can fit temporary or removable security for the duration of the job.
- Tell tradespeople the ground rules. Make it clear which areas they can use and how to lock up at the end of the day.
Remember Materials and Fixtures, Not Just Tools
It’s easy to focus on tools, but materials and fittings are also at risk. Copper, cabling, appliances, tapware, light fittings and timber can all attract unwanted attention. Where possible, schedule deliveries close to installation, store materials inside a lockable space and avoid leaving expensive fixtures in view.
When the Work Is Finished: Reset Your Security
Once the build or renovation is complete, take a moment to close off the access you created along the way.
- Rekey or replace locks. You can’t know how many keys were cut or who still has one. Rekeying makes all previous keys useless.
- Remove old codes. Delete temporary codes from keypads, smart locks and lockboxes.
- Check that all locks work. Doors and windows may have been adjusted or damaged during the work.
- Upgrade where needed. The end of a project is a good time to improve locks, add deadbolts or install keyless entry.
- Update your insurance. Make sure your policy reflects the completed work and any new valuable items.
A Quick Site Security Checklist
- Record your inventory, photos and serial numbers.
- Confirm your insurance covers tools and materials on site.
- Use a lockable site box or container for valuables.
- Choose quality padlocks with hardened shackles.
- Lock the building as soon as doors and windows are fitted.
- Remove high-value items overnight.
- Keep a key and code register, and limit copies.
- Use lighting, and tell neighbours about your schedule.
- Rekey or replace locks when the work is done.
Protect Your Investment From Day One
A home build or renovation is a major investment of time and money, and losing tools or materials to theft makes it harder and costlier than it needs to be. By recording your equipment, locking it away properly, controlling who has keys and codes, and resetting your locks when the job is done, you greatly reduce the risk. A few sensible habits and the right hardware are usually enough to keep your Murrumba Downs project secure from the first day to the last.